My cousin and I are very much alike. We like to tell people we got a lot of the same genes. We both love crafting, we like the same colors. We often have the same ideas. We are so much like sisters, our voices even sound alike and our laugh is very similar. My cousin lives in Rathdrum Idaho. I live in Tumwater WA.
So anyhoo, I wanted to make something for my cousin to remind her that I miss her and think about her often.
Lately, I have noticed so many projects on Pinterest that use maps. I wanted to make something with a map to show how we are tied together even though we live far apart. Tumwater Washington isn't really very far away from Rathdrum Idaho.
(on a map anyway)
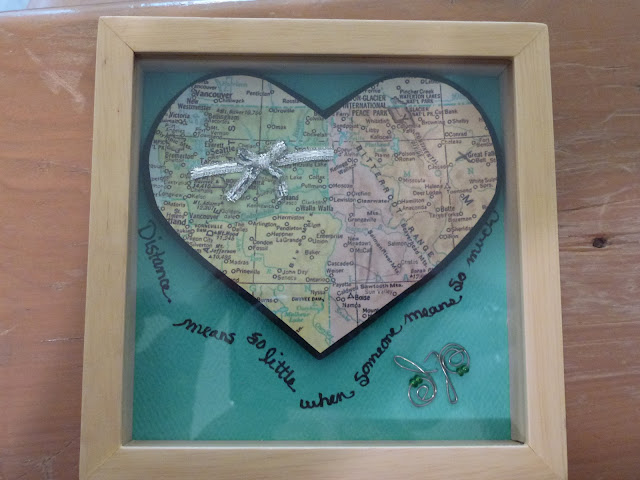
I found an old atlas and made a color copy of a map on my printer. You could use the original map page but I decided I might want to make something else from these atlas pages later, plus I have a hard time cutting up perfectly good books. I cut out a heart shape around the two cities and then cut a slightly larger black heart to frame it.
Connecting us through the miles! Awww.
Another idea would be to glue a heart shape or a car etc. I had also thought of sewing a "road" between the two places. I chose ribbon because it is such a short distance and the thread and yarn I tried at first wasn't very noticeable with such a short distance.Now, if you were connecting, say California and New York, that is a different story! I would sew a red road with embroidery floss or something like that.
Now, I could have just used my computer to print out perfect lettering for the saying, but I wanted to write in my hand writing to make it personal. You may not believe it, but your handwriting is precious to your friends and loved ones. We don't write much anymore and I think that is sad.
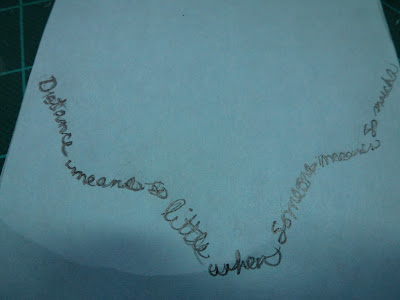
To get the lettering right on the first try, I first cut out a practice page the same size as my project paper. I used some printer paper that I had lying around.
Here is an old fashioned trick I learned a long time ago in college. (before home computers) First, count the letters and spaces in the sentence. Divide the number by 2. Now at the halfway mark of the space you are going to place the words, start the second half of the sentence being careful to fit it in to half the total space. Then start the beginning of the sentence and be mindful to fit it into the space left between the beginning and the midpoint. I hope that makes sense. Maybe someday I will do a video tutorial for it. People ask me how to do this all the time.
I then used the old tried and true technique of using the side of a pencil to cover the back of the paper (under the words) with graphite to make a sort of "carbon copy". Wow, I'm not sure people still know what that is. I guess I'm showing my age in this post! This is a good technique to know. I have used it in many situations when there wasn't an easier or quicker way of copying something.
So, I placed the graphite copy over my project paper and wrote over the words that were already written on the paper. This transferred some of the graphite to my project paper. It was enough of a copy so that I could see where the words started and ended. I then took a deep breath and wrote in a slow, careful hand on the project paper with a Sharpie. Next, I erased the graphite marks. I have learned that Sharpie markers don't smear even when erasing, unlike some other pens that shall remain nameless. Ahem.
I then glued a piece of felt to the back of the heart shape to raise it off the paper a bit. You could also use cardboard pieces, foam pieces etc. Anything to raise the shape off the paper to make it more noticeable.Finally, I glued the heart onto the paper.
Please forgive this photograph. The glass doesn't come out of this frame so I had to photograph it through the glass which caused some weird reflections. I thought it needed a little something so I glued some wire initials onto the corner. d for Dana and p for Pam. Our middle name is the same by the way. We are sister/cousins.
I would love to see what fabulous crafts you come up with using maps. I love comments and will answer every single one!


